Monday, July 14, 2014

Kitchen Remodel: Backsplash

Kitchen Remodel: Backsplash

The backsplash has turned out even better than we had planned!!

If you remember, here are the previews I posted of the backsplash I designed:


Here are the installation pictures:


Laying it all out before cutting


The rug on the wall


Planning the cuts for the 1x1 squares


The rug, complete, before grout


The rest of the backsplash complete before grout


Under the window


Here is the final product.  Wowza!!


Here are the materials we used:
(Update needed)

Oil Rubbed Bronze Faucet
Instant Hot Water Heater & Oil Rubbed Bronze Faucet
Stainless Steel Sink

Rug: (from the outside in)

Outside trim (picture frame): Questech Oil Rubbed Bronze Rope Ogee 3x12
Creamy colored inner row: Salerno Nubi Bianche 3x10
Westminster Copper rope 1x12
Emperador Light Marble 4x4
Questech Oil Rubbed Bronze 4x4
Westminster Copper 4x4 picture frame
Westminster Copper 2x2 scudo

Backsplash (other than rug):

Emperador Light Marble 6x6
Questech Oil Rubbed Bronze rope 1x12
Westminster Copper 2x2 scudo
Questech Oil Rubbed Bronze 2x2
Bronze 1x1

Outlet covers:
Oil Rubbed Bronze from Lowe's

* * * * *


House Renovations: Carpet Upstairs

House Renovations: Carpet Upstairs

I don't have any "after" shots yet, but here are some "during" shots of the carpet install upstairs:


The stairs were SO gross.  The carpets that were removed were 23 some odd years old, and the padding beneath the carpet had rotted out almost completely.  The new carpet has a super thick fluffy underpad, and I can't tell you how awesome it is to squish our feet in the super uber nice and fantastic new carpet.

I'll post photos of the "after" shots as soon as the upstairs hallway is finished.


But for now, here's what we used...

We chose the Bliss Perceive Amherst Gray carpet.  Here's a link to the website, and a picture of what the carpet looks like up close.  It's SUPER soft and VERY squishy on the feetsies!!


* * * * *

Kitchen Remodel: Counters

Kitchen Remodel: Counters

We bought the bookends of two big granite slabs from Brazil. 

 I LOVE the red part of the granite, and used it as much as I could.

Here are some pix to show you the progress.


The slabs we bought were called a "bookmatched set."  I called them bookends.  They are two pieces of granite, cut one right after the other, but are polished on opposite sides.  The purpose of these bookends is to enable you to have virtually seamless seems.  The fabricators can match up the seams beautifully if you have large pieces that need to be seemed together.

 If you don't NEED to have bookends, do NOT pay the extra premium for them!!  We had NO idea they would cost us an extra $1000!!!  We were told to buy them and we did, only to find out we didn't need the bookmatched set, because our one seem couldn't be matched up exactly given the size and shape of our kitchen.  Fortunately, having the bookends worked out well for us, because we were able to use all of the red parts of the granite on all my favorite places, and my kitchen turned out even better than we had hoped for.  But yowza, what a price jump!!


The granite slab fabrication company was a bit old school.  They templated the counters using balsa wood, and then taped the templates onto the granite slabs.  The teeny square in the corner is for our powder room which is adjacent to our kitchen.  We'll use the leftover pieces for the upstairs bathrooms later this month.


Each piece weighed about 400 pounds!  Whew!!!


 Kitchen sink slab on the left, peninsula slab on the right


The granite looks different at every angle, and with light changes too.

 Aren't they pretty?


We chose a Typhoon Bordeaux granite, 3cm, from Brazil.  I love them!!


Here's a preview of the powder room...


* * * * *

Kitchen Remodel: Cabinets

Kitchen Remodel: Cabinets!

I'm falling behind in my blogging updates, but thought I'd try to do a little catch up.  Here are some pix of the new cabinets!


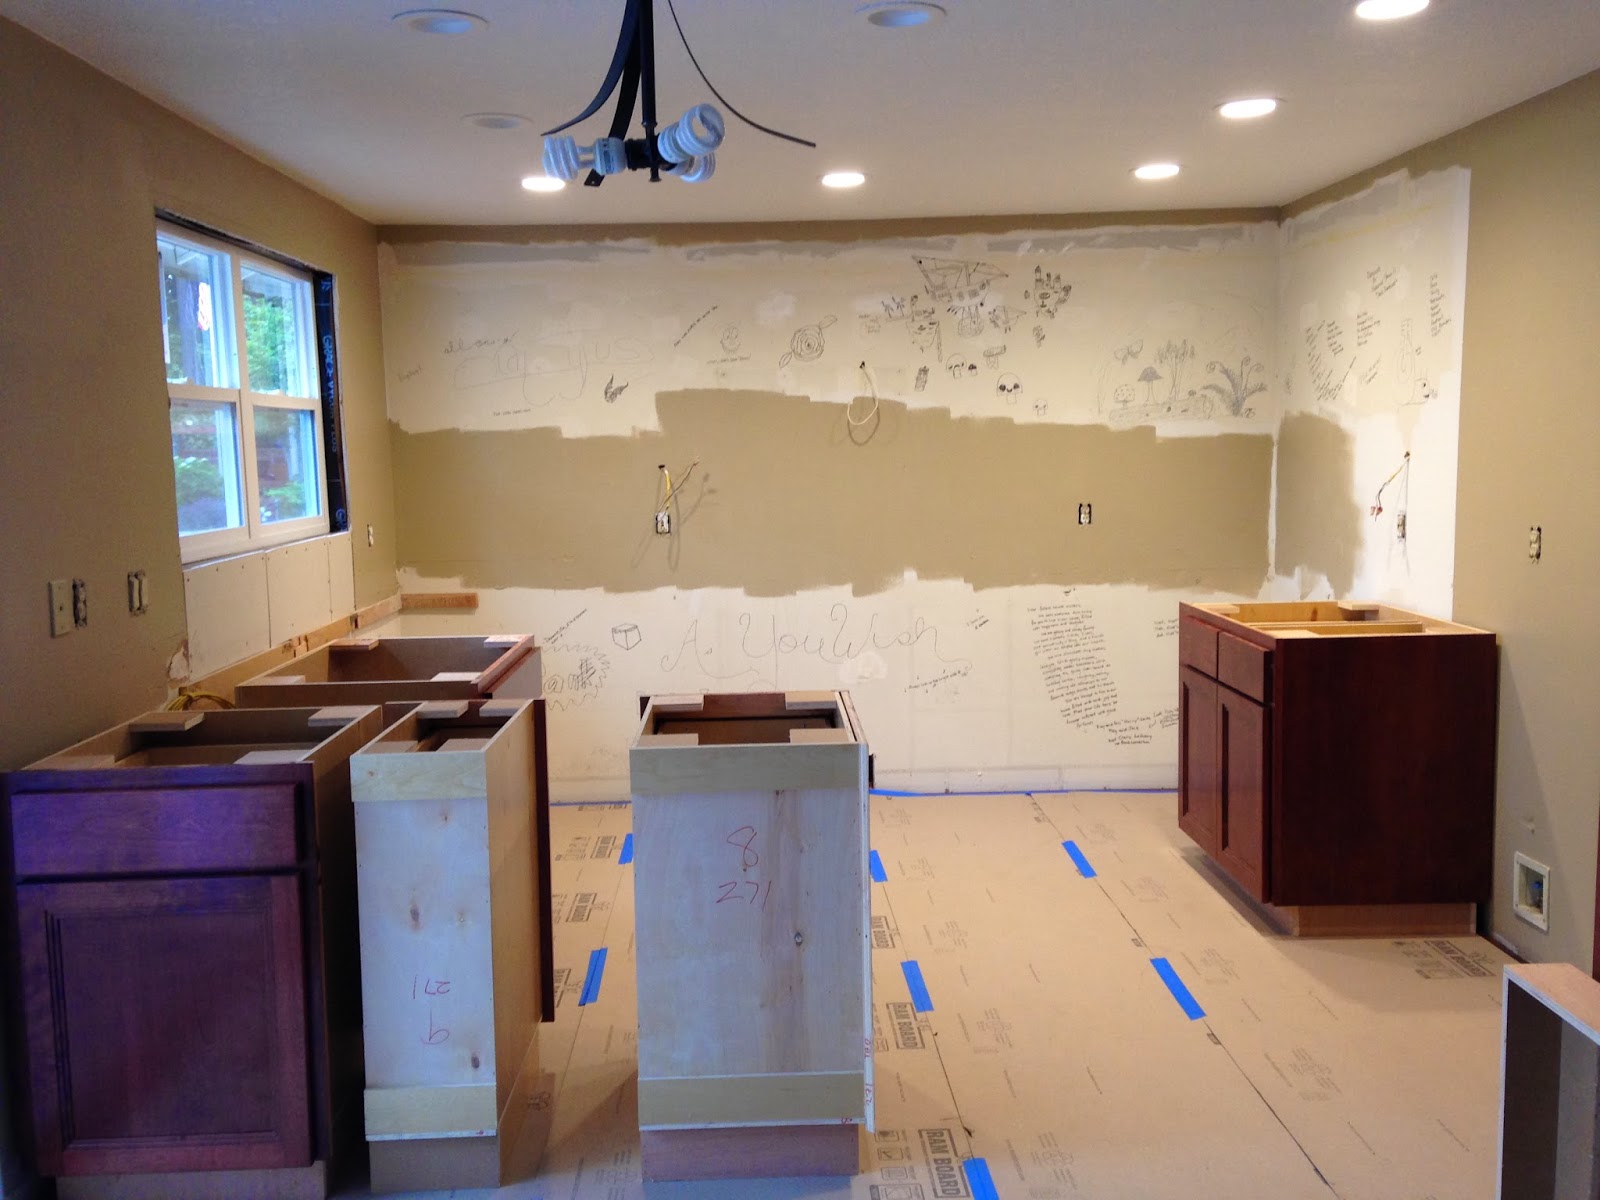
First, they loaded the cabinets into my living room with all the other stuff

The pantry and its missing door
 Getting started placing them
 Wish they would have left just a WEE bit more room for the trash compactor...


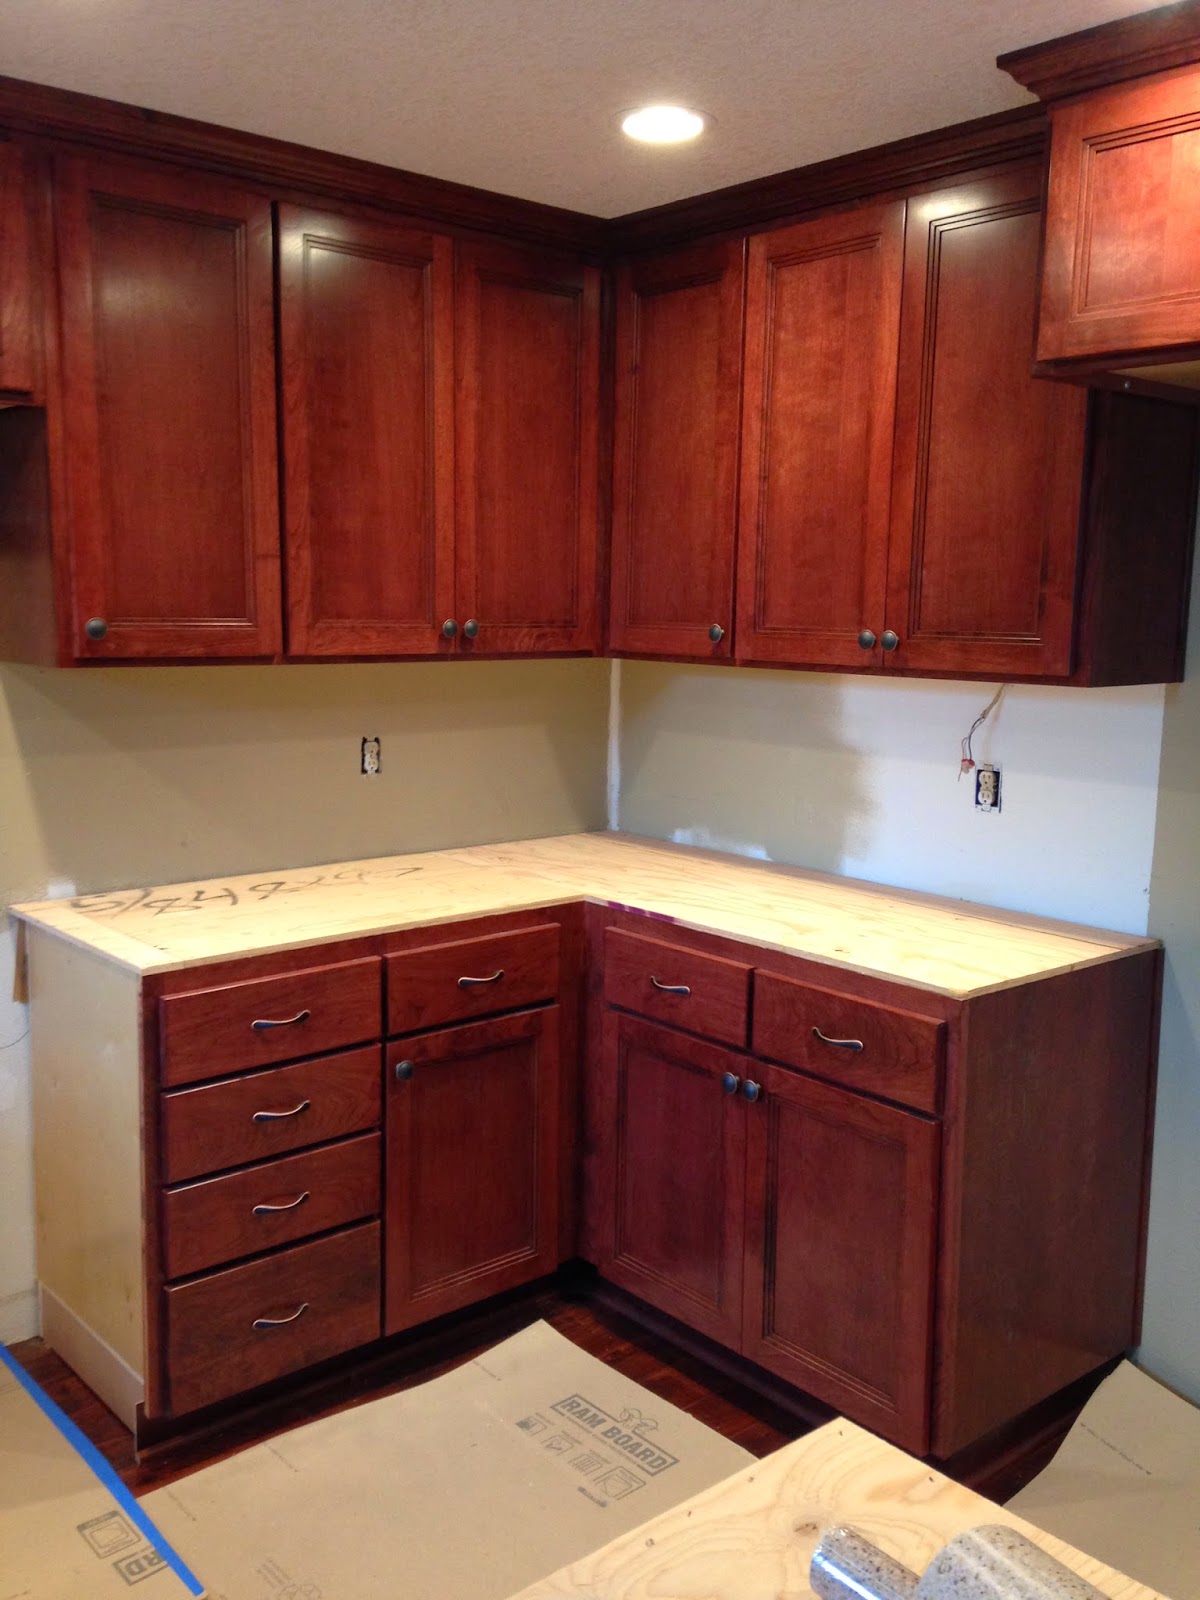
 Just about done...


  Oh so pretty!!!


We chose cherry cabinets with a "cordovan" stain.  They turned out beautifully!!


* * * * *