

Jim & Patty's Sour Cream Coffee Cake
made by GranNini
About a million years ago, I happened upon a recipe in the Oregonian featuring "Jim and Patty's Sour Cream Coffeecake." Intrigued, I ripped the recipe out of the paper and gave it a whirl. OH MY! It is quite the delight!!
If you ever happen to be in Portland, perhaps you should go and visit them.

Here's a picture of THEIR coffee cake from their website.

Here's a picture of the coffee cake I made using their recipe. Delish!
So thanks, Jim & Patty, for sharing your recipe with the Oregonian!
Your coffee cake has been quite the delight of many a brunch!
For those of you who missed it, here's the Oregonian's recipe for
Jim & Patty's Sour Cream Coffeecake
Topping:
1/4 cup flour
1 1/2 cups firmly packed light brown sugar
2 teaspoons ground cinnamon
4 Tablespoons unsalted butter, melted (1/2 stick)
1 cup finely chopped roasted hazelnuts
Cake:
2 2/3 cups flour
1 1/4 teaspoons baking powder
1 teaspoon baking soda
1/2 teaspoon salt
1 cup unsalted butter, softened (2 sticks)
1 cup plus 2 Tablespoons granulated sugar
1 teaspoon vanilla
4 eggs
1 1/4 cups sour cream
Preheat oven to 350 degrees. Grease and lightly flour a 9-by-13- inch baking pan.
To make topping: In a bowl, whisk together the flour, brown sugar, and cinnamon until blended. Stir in the butter until the topping is crumbly. Stir in the hazelnuts.
To make cake: In a bowl, whisk together the flour, baking powder, baking soda and salt until well-blended; set aside.
In a stand mixer set on medium speed, beat the butter and sugar until creamy. Beat in the vanilla and the eggs, one at a time, until well-blended, scraping down the sides and bottom of the bowl as necessary. Add flour mixture and sour cream alternately to sugar mixture, beginning and ending with flour mixture. Scrape down the sides and bottom of the bowl. The batter should be smooth and blended.
Spread the batter into the prepared baking pan and sprinkle the reserved topping over the batter. Bake until the cake has risen and browned and a toothpick inserted in the center comes out clean, 40-45 minutes. Let the cake cool in the pan for at least 15 minutes. Cut into 12 pieces and serve.
* * *
GranNini's Notes:
- I don't use the hazelnuts. Too many of our friends are allergic to nuts, so I leave them out. That said, I think hazelnuts would be amazing. OR toasted, chopped pecans. Mmmm. But honestly, if you're living in a nut-free world, this coffee cake is pretty darned tootin' tasty without the nuts.
- I use a fork, not a whisk, for making the topping.
- Over the years, I have had several people request that a wee bit of the tasty topping somehow make its way into the center of the cake, without being overwhelming. I have tried various techniques to do this, and I think I've perfected the strategy. I split the cake batter roughly into half. I spread the first half of the cake batter into the bottom of the pan. Then, using my fork (which I used instead of a whisk) from the topping, I make several "mini mounds" of topping on top of the cake batter. (See below for pictures.) Then, I spread the remaining cake batter on the top of the mini mounds. Finally, I top off with the remaining topping. This strategy allows just enough topping in the center of the cake to give it a tasty cinnamon-y goodness, without taking too much of the tasty topping terrific-ness off the top.
- I have learned over the years, always to err on the side of caution of baking this cake LONGER rather than shorter. If you undercook the coffee cake, it will fall in the center, and form a dense, thick, much-less appetizing center. I have found that 45 minutes is perfection in my oven. Trust the toothpick or butter knife test. If the knife comes out clean, you're good to go!
- I always serve the coffee cake cool, rather than warm. I'm not sure what it is, but it's super fantastic and delicious once it has cooled.
- Oh, and finally, this cake is fabulous on days one and two. By day three, this cake becomes a bit stale. So if you can't eat it all on day one or two, be sure to give it away to others for them to enjoy on day two. By day four it's near to inedible -- by my picky palate, at least.
* * * * *
For those of you who like pictures with your recipe, here you go!
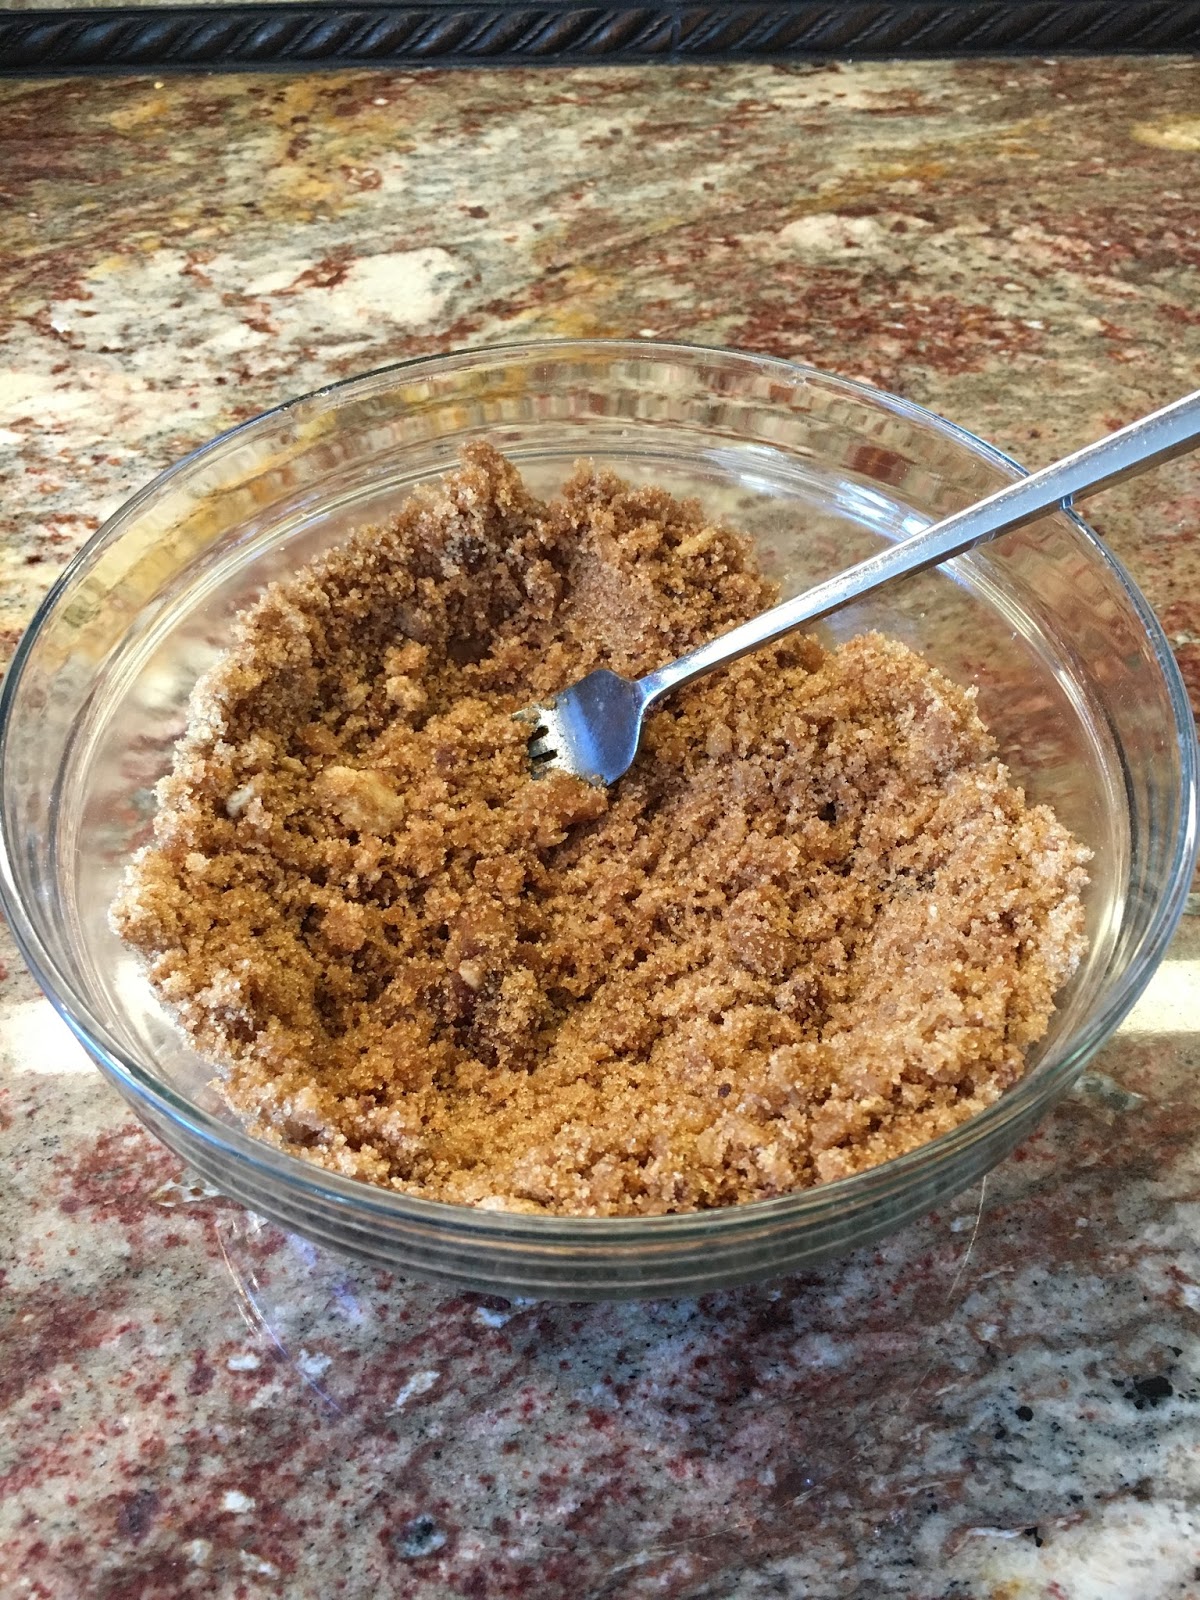
Make the tasty crumb topping and set aside.

Cream the butter and sugar.

Add in the baking powder, baking soda, salt, vanilla and eggs. Scrape down the bowl as necessary.

Add in half the flour. Then add in half the sour cream.

Add in the last half of the flour and the last bit of sour cream. Mix only until blended.

Spread about half of the batter onto your lightly greased 9x13 dish.

Make a few mini mounds of the topping across the bottom half of the cake batter.

Spread the remaining half of the cake batter over the top.

Sprinkle the topping onto the top!

All done! The same view, but the baked version.

Before...

After.

Mmmmmmm. My mouth is drooling already!

* * * * *
No comments:
Post a Comment