As many of you know, we are currently undergoing a massive house renovation, as our dishwasher decided to piddle underneath our kitchen floors, ruining the floors, and my cabinets, and hence my kitchen counters as well.
So while we have been waiting for a VERY long time for everything to work itself out regarding contractors, and our insurance company, and choosing tile and counters and cabinets and designing a backsplash and picking out floors, and choosing carpets and supplies being ordered, and so forth, I have been madly working around the house trying to make as many renovations as I can before the contractors arrive to tear everything out.
I have painted all of the walls and all of the ceilings (ugh, and double ugh) in the entire downstairs, splatting paint every which way from Sunday and not really giving a rat's patootie, as I'm going to be replacing all of the flooring in the entire downstairs by the time this renovation project is complete. It is rather liberating to be able to splat drops of paint and stain all over the floors, and splatter teeny flecks of white ceiling paint every which way, and not care one iota how it affects the surface of anything around you. Makes quicker work of the whole painting process!
Once that was done, I began systematically removing all the orange wood surfaces throughout the downstairs (I completed the orange wood removal on the upstairs of the house last summer.). This process involved either sanding each of the surfaces three separate times and then painting them white (then caulking them, taping them up, and getting crisp, clean paint edges), or staining them with three coats of a lovely mahogany stain and then giving them two coats of shiny clear coats. For the downstairs, this has involved each and every window and door casing on both sides, the three pocket doors, the laundry room door, the laundry room cabinets, the laundry room cabinet doors, the staircase bannister and balusters, and the baseboard moldings. WHEW!!!
Disaster struck (okay, it was really only a minor setback, but felt rather tragic at the time) when the baseboard moldings began to crack, break, and fall apart completely when jimmied off the walls. Turns out that the nice fella who reinstalled the baseboard moldings after installing the engineered hardwood floors 16 some odd years ago (by STAPLING the floors on TOP of the linoleum, rather than (a) removing the linoleum and (b) using nails instead of STAPLES -- and, by the way, he didn't even bother to CLEAN the floors before installing the hardwood floors on top of them, so eeew was the word when the hardwood floors started to come up), well this nice fella decided to use some 4 odd inch nails to blast into the side of my walls (and sometimes into the floors, and into the metal flashing at the base of the walls) to reinstall the baseboards. Which, as those of you who know anything about baseboard removing should know makes it quite a bit of a challenge (hahahaha! Read nearly IMPOSSIBLE) to remove. I ended up leaving lovely divots in the walls, and actually took out a couple of chunks at one point. Ugh. I gave up. I quit. I conceded. Sigh. I am now going to pay the contractor to jerry rig the suckers off the wall, have THEM create the damage (and thus have to repair said damage!), and then have them reinstall some very lovely, much taller, much more fabulous painted white baseboard moldings after our new and more lovely hardwood floors are installed.
So, now that I am on my last week of all of this loveliness, it is time to give you some previews!
My first mini project to share with you all is the door bell cover on the inside of my house. I don't know what this thing is called, but it was U-G-L-Y when I got my hands on it. I tried to buy a new one, but they wanted $50 some odd dollars, and who knows what kind of hick-ville, General Lee car-like song from the Dukes of Hazard would have assaulted my ears every time the door rang had I got stuck with a new door bell. Mine, albeit ugly, has a nice, simple Ding Dong. Just like a doorbell should have.
I had a TERRIBLE "before" shot. I tried to crop and cut and paste it up a bit to give you a before/after shot of the doorbell box. It was that lovely (can you FEEL my sarcasm dripping off my words?) ORANGE wood, with gold "bells" on either side.
So here's the before / after shot:
Then I thought I'd talk you through the steps, should you wish to follow suit and give your doorbell a fairly simple, and really lovely result.
1. First, I removed the wood part of the door bell cover from the rest of the contraption.
2. Then, I taped up newspaper all around the rest of the area.
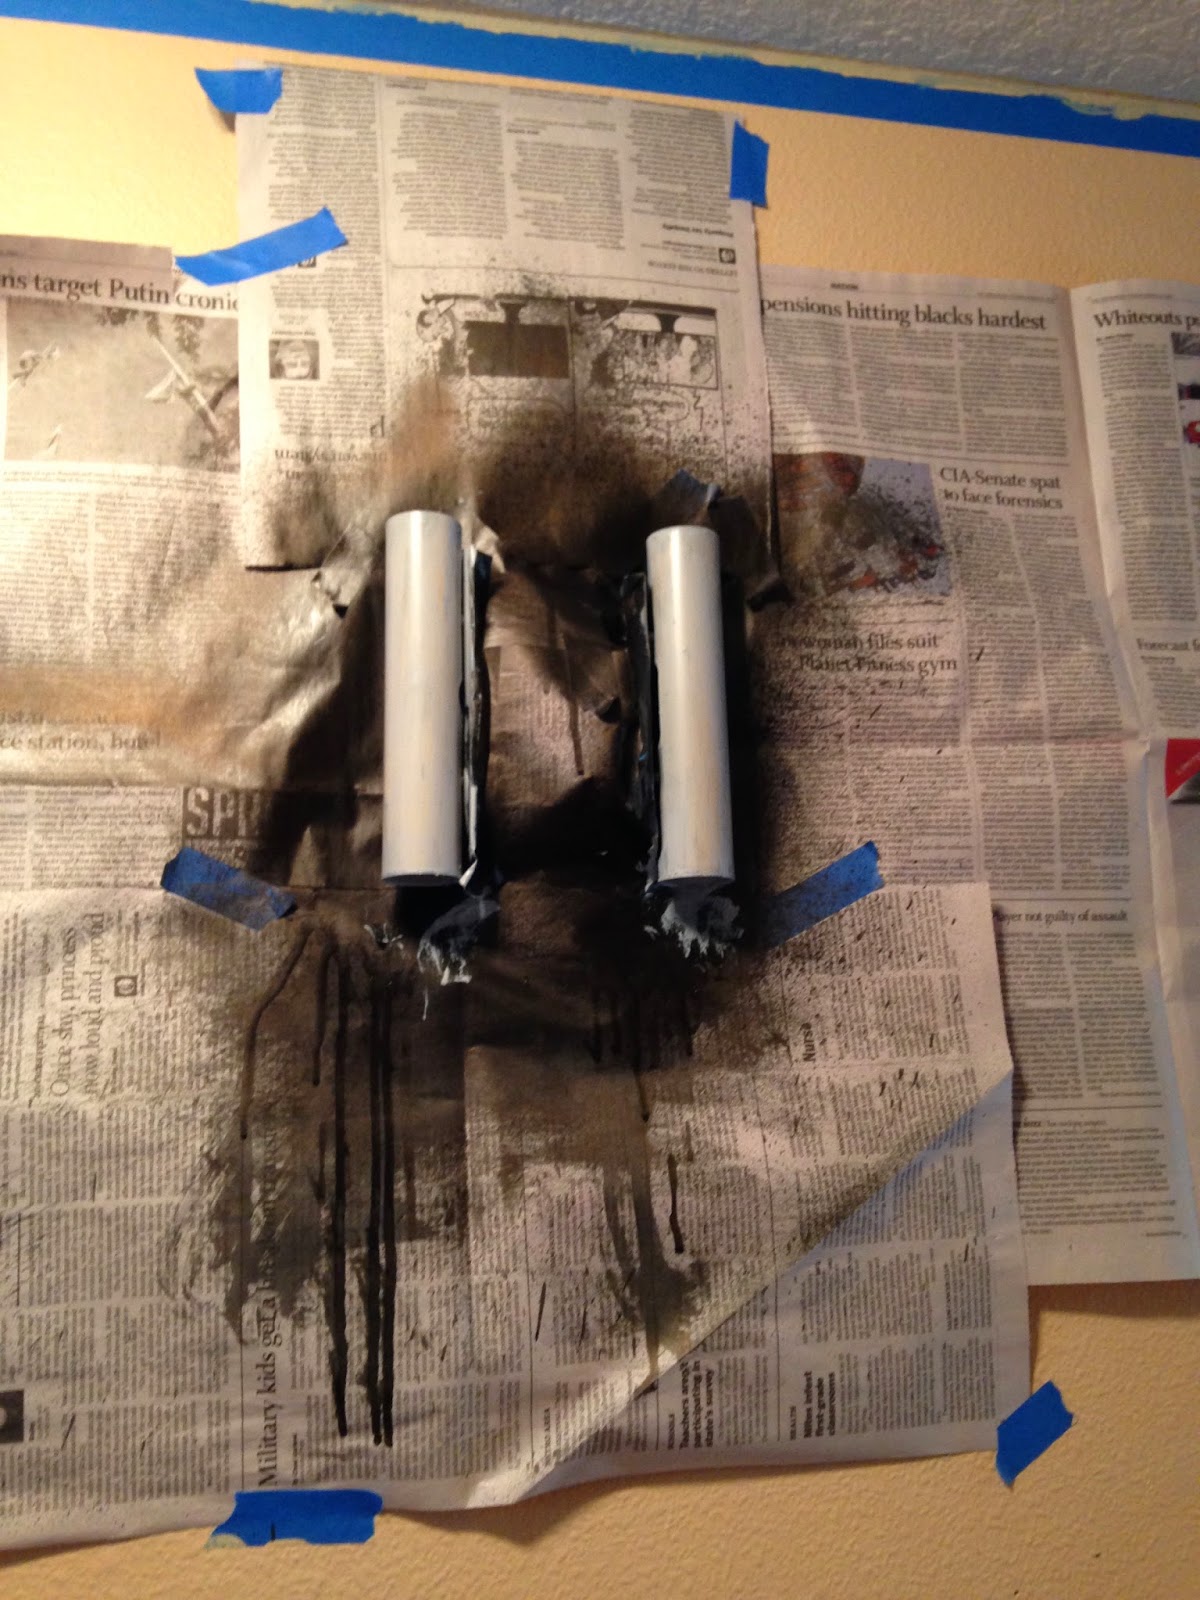
3. Then, *DO NOT DO THIS STEP!* I made the wretched mistake of spray painting the gold bells black. I was going for the oil rubbed bronze look. I ended up with paint splatter EVERY WHERE. No more spray painting for me.
See? Disaster!!! Splatter, splatter, every where.
4. Then I rubbed all the spray paint off, because it just rubbed right off. Like I said, it was horrific.
5. THEN I bought some primer and some paint and went to work. I got the primer and the paint at Home Depot. The copper paint I picked up at Michaels. And the oil rubbed bronze door knob is from Home Depot as well. That's what we're using for our knobs and pulls for the downstairs. (Upstairs we're using brushed nickel.) See the teeny tiny stripe of copper around the edge of the knob? I think it looks fabulous!).
6. I started with the primer and a nice brush and primed the bells. Yes, yes, I should have STARTED with this step. Good to know.
7. Once my primer dried, I gave it a second coat JUST to make sure. Turned out great.
8. Then, I painted the bells black. Turned out great. Starting to feel like I'm redeeming myself.
9. Next, I taped off the edges, and painted them with "copper penny" paint I picked up at Michaels. My daughter said that I made the bells look like little Duracell batteries. I think they looked just like my oil rubbed bronze door knobs (which is in the picture above with the primer and the paints).
10. Then I removed the tape, and the bells were done. Sweet!
11. Then I started in on the doorbell box itself. I sanded and stained and sealed the doorbell box and got it ready to go.
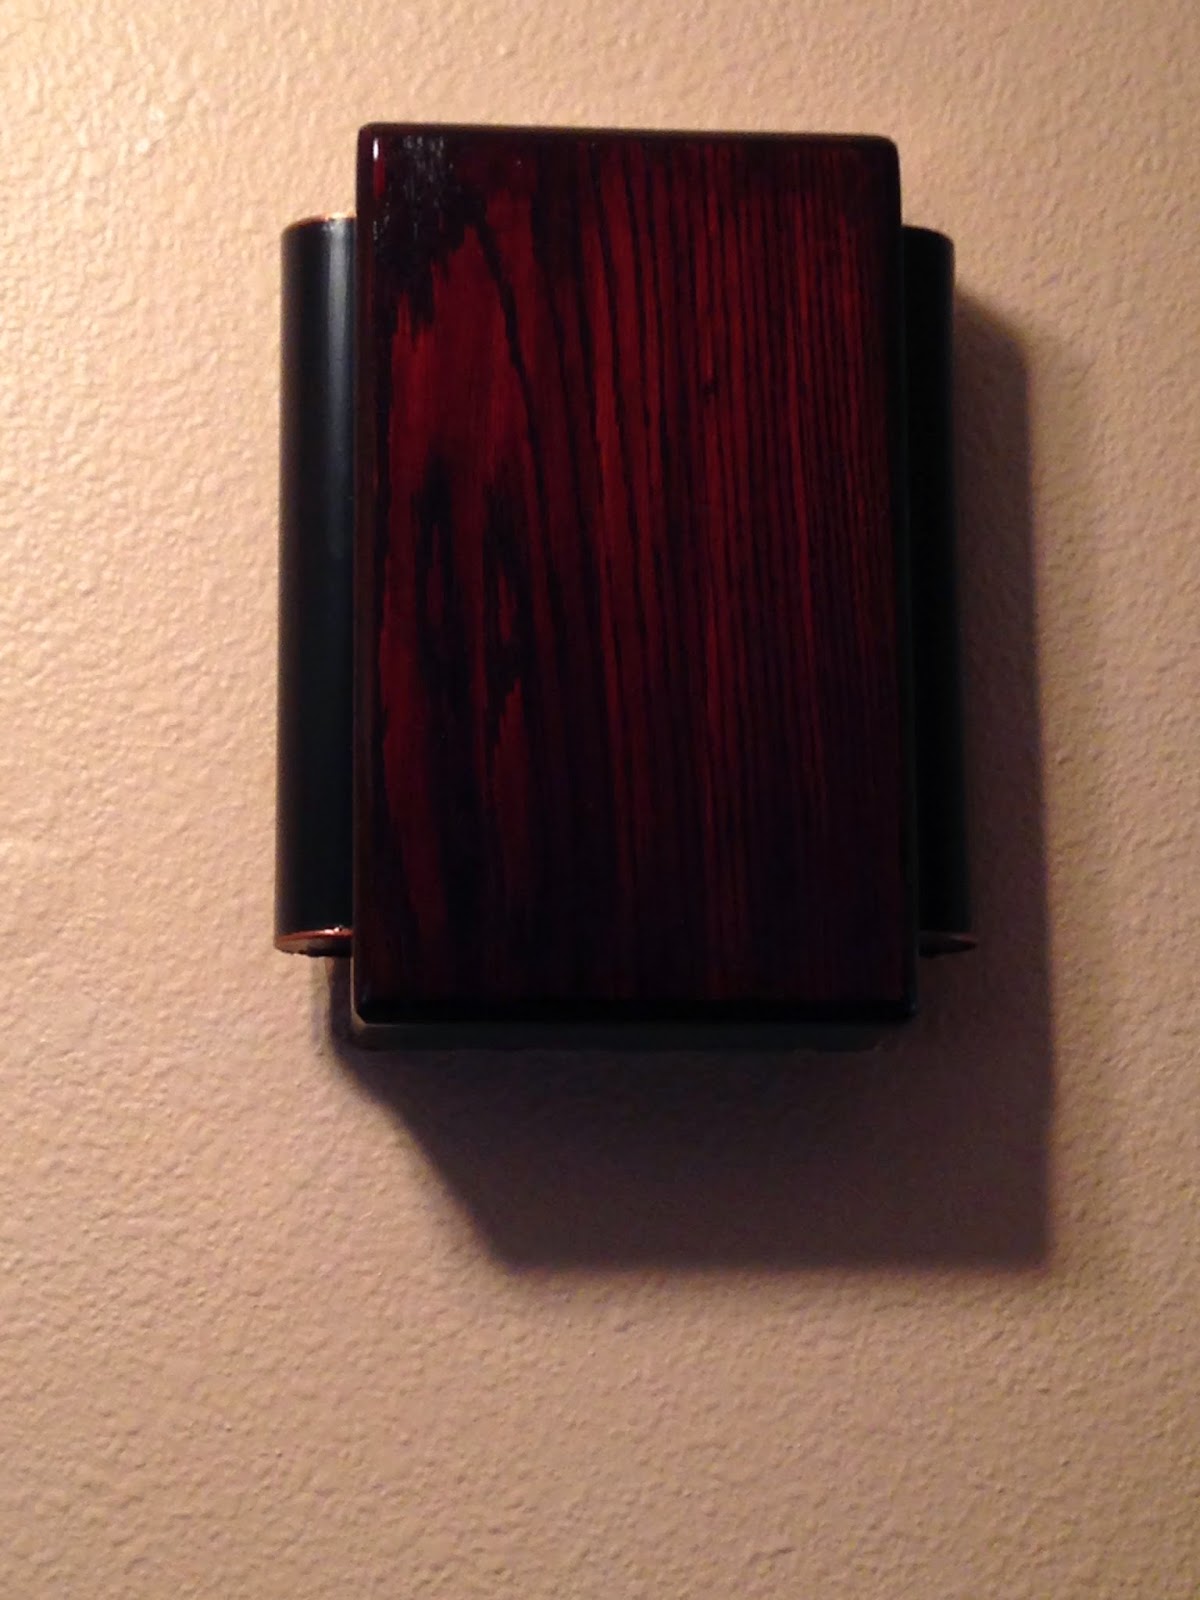
12. And here is the finished doorbell box!
I think it looks amazing!


No comments:
Post a Comment