Showing posts with label House Renovations. Show all posts

Monday, August 25, 2014

Kitchen Remodel: Materials Used


Here are the materials we used for the kitchen:

We bought our faucets and kitchen sink from George Morlan Plumbing

Oil Rubbed Bronze Kitchen Faucet
Kohler Bellera K-560-287


Insinkerator Instant Hot Water Heater F1000S


Insinkerator Instant Hot Water Heater Oil Rubbed Bronze Faucet F-GN1100


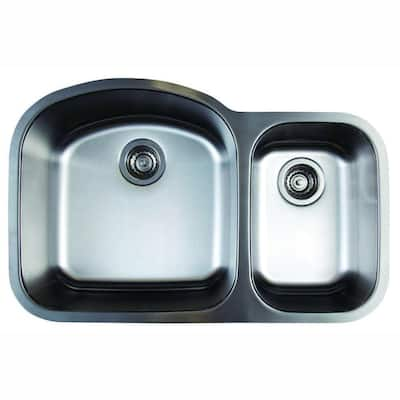
Stainless Steel Sink
Blanco Stellar 1.6 Stainless Steel Kitchen Sink 441022

Backsplash
Let me just take a moment to say WOW and THANK YOU to my two amazing tile guys.  It took two, expert tile guys, two ENTIRE days JUST TO TILE, and one extra day just to do the grout.  The mini 1x1 bronze tiles only required one cut, but each of the 2x2 tiles required two cuts each.  And the pattern created a bit of a time consuming, detail oriented challenge.  But the results were amazing.  Such beautiful artwork!!


Here is an up close view, before grouting, of the backsplash

So, now on to the materials we used for the kitchen:

Rug (pretty design over the oven, under the hood)


Outside trim (picture frame): Questech Oil Rubbed Bronze Braided Rope Ogee 3x12


Creamy colored inner row: Salerno Nubi Bianche Floral Accent Strip 3x10
Link to the floral accent strip through Daltile's website


Westminster Cast Metal Half Round Rope Copper 1/2 x 6


Emperador Light Marble 4x4
(My fabulous tile guys cut the 6x6 downs to 4x4s, then sliced them at a diagonal.  They rock.)
Link to Emperador Light Marble

Questech Oil Rubbed Bronze 4x4


Copper 4x4 picture frame

Copper 2x2 scudo


Backsplash (other than rug):

Emperador Light Marble 6x6
Link to Emperador Light Marble


Questech Oil Rubbed Bronze rope 1x12


Westminster Copper 2x2 scudo
Questech Oil Rubbed Bronze Fleur Dot 2x2


Bronze 1x1


Outlet covers:

Allen & Roth Oil Rubbed Bronze from Lowe's
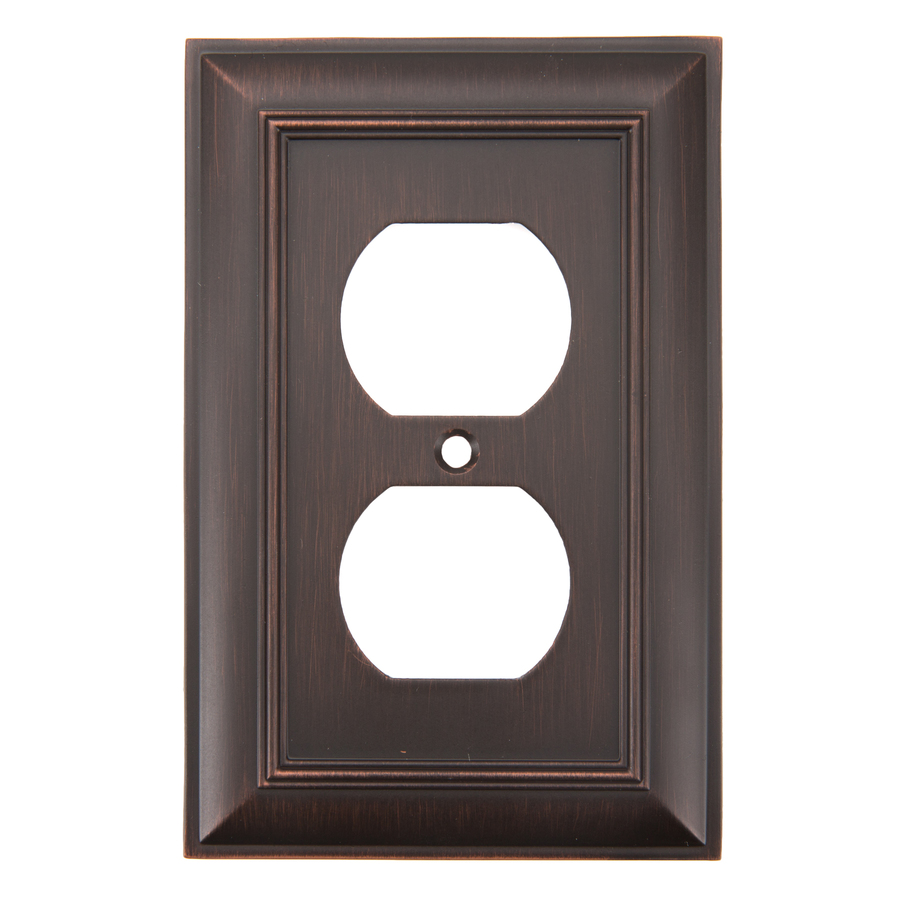
Lowe's link to the outlet cover

Grout
We had to use 2 different colors of grout for our kitchen tile.  The first was Fusion Pro Charcoal (for all the oil rubbed bronze tiles) and the main one was Fusion Pro Light Smoke.  We have TONS left over.


Here you can see the light smoke grout.  So pretty.  Who knew?


Here you can see where they taped off the lighter areas to grout with the charcoal grout color
Super awesome Justin, my grout guy.


The cabinets
The cabinets we bought from Crestwood Cabinets in Washington state.  They are cherry cabinets with solid wood interiors, and have a Cherry Cordovan stain on the front.

The granite
We bought two granite slabs called "Typhoon Bordeaux," 3cm, from Brazil.


The Lights
We picked our recessed LED can lights from Lowes.  We bought them in 2 packs, then had SO much light at the end of the project we had to hire the electrician to come back and insert a dimmer switch.  


* * * * *


House Renovations - Before and Afters

House Renovations - Before and Afters

Our house renovations are complete!!

Well, almost complete.  There are a few *very minor* paint touch ups to do.  And then there are the four closet doors that I had removed from the kids' bedrooms and stored in the garage that I need to sand, stain, and varnish.  We'll never use them, but when we go to sell the house in 20 years, I'm sure they'll want doors that match the rest of the house.  And then there's the outside door to the garage to sand and prep for painting.  That sweet hubby of mine threw me under the bus on that one.  The painter complained that it would take a LONG time to prep the door to paint, and would cost a LOT of money to do so.  Since I've done all the rest of the doors in the house, and it didn't take TOO much time or effort, my hubby offered up my services in hopes of saving us a few bucks.  Yay me. 

SO!  The moment you've all been waiting for!!!

I have spent the better part of the morning playing around with my computer and making before/after photos of the house renovations.  I LOVED going through all the really old photos from when we first moved in and "tried" to make changes from the original house owner's decorating ideas to create our own.  Some of our changes were okay.  Others, not so much.  I hope you have as much fun looking through them as I did!


Monday, July 14, 2014

Kitchen Remodel: Backsplash

Kitchen Remodel: Backsplash

The backsplash has turned out even better than we had planned!!

If you remember, here are the previews I posted of the backsplash I designed:


Here are the installation pictures:


Laying it all out before cutting


The rug on the wall


Planning the cuts for the 1x1 squares


The rug, complete, before grout


The rest of the backsplash complete before grout


Under the window


Here is the final product.  Wowza!!


Here are the materials we used:
(Update needed)

Oil Rubbed Bronze Faucet
Instant Hot Water Heater & Oil Rubbed Bronze Faucet
Stainless Steel Sink

Rug: (from the outside in)

Outside trim (picture frame): Questech Oil Rubbed Bronze Rope Ogee 3x12
Creamy colored inner row: Salerno Nubi Bianche 3x10
Westminster Copper rope 1x12
Emperador Light Marble 4x4
Questech Oil Rubbed Bronze 4x4
Westminster Copper 4x4 picture frame
Westminster Copper 2x2 scudo

Backsplash (other than rug):

Emperador Light Marble 6x6
Questech Oil Rubbed Bronze rope 1x12
Westminster Copper 2x2 scudo
Questech Oil Rubbed Bronze 2x2
Bronze 1x1

Outlet covers:
Oil Rubbed Bronze from Lowe's

* * * * *


House Renovations: Carpet Upstairs

House Renovations: Carpet Upstairs

I don't have any "after" shots yet, but here are some "during" shots of the carpet install upstairs:


The stairs were SO gross.  The carpets that were removed were 23 some odd years old, and the padding beneath the carpet had rotted out almost completely.  The new carpet has a super thick fluffy underpad, and I can't tell you how awesome it is to squish our feet in the super uber nice and fantastic new carpet.

I'll post photos of the "after" shots as soon as the upstairs hallway is finished.


But for now, here's what we used...

We chose the Bliss Perceive Amherst Gray carpet.  Here's a link to the website, and a picture of what the carpet looks like up close.  It's SUPER soft and VERY squishy on the feetsies!!


* * * * *

Kitchen Remodel: Counters

Kitchen Remodel: Counters

We bought the bookends of two big granite slabs from Brazil. 

 I LOVE the red part of the granite, and used it as much as I could.

Here are some pix to show you the progress.


The slabs we bought were called a "bookmatched set."  I called them bookends.  They are two pieces of granite, cut one right after the other, but are polished on opposite sides.  The purpose of these bookends is to enable you to have virtually seamless seems.  The fabricators can match up the seams beautifully if you have large pieces that need to be seemed together.

 If you don't NEED to have bookends, do NOT pay the extra premium for them!!  We had NO idea they would cost us an extra $1000!!!  We were told to buy them and we did, only to find out we didn't need the bookmatched set, because our one seem couldn't be matched up exactly given the size and shape of our kitchen.  Fortunately, having the bookends worked out well for us, because we were able to use all of the red parts of the granite on all my favorite places, and my kitchen turned out even better than we had hoped for.  But yowza, what a price jump!!


The granite slab fabrication company was a bit old school.  They templated the counters using balsa wood, and then taped the templates onto the granite slabs.  The teeny square in the corner is for our powder room which is adjacent to our kitchen.  We'll use the leftover pieces for the upstairs bathrooms later this month.


Each piece weighed about 400 pounds!  Whew!!!


 Kitchen sink slab on the left, peninsula slab on the right


The granite looks different at every angle, and with light changes too.

 Aren't they pretty?


We chose a Typhoon Bordeaux granite, 3cm, from Brazil.  I love them!!


Here's a preview of the powder room...


* * * * *